We’ve had lots of clients asking for the best tips of how and where to position artwork and mirrors once they’ve redecorated a room. So below we have compiled a few of our top tips for hanging your artwork.
Tip #1: Hang Art at Eye Level
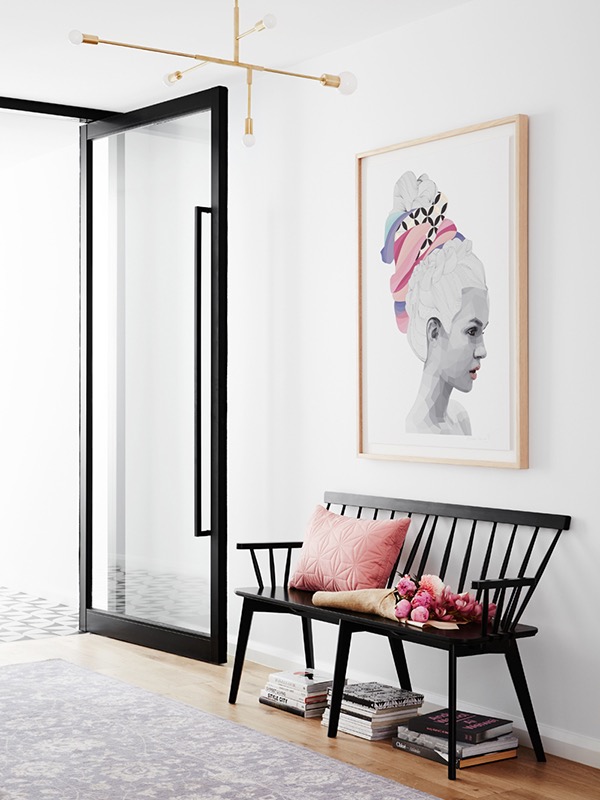
Most people have the tendency to hang artwork too high. One bit of advice we have picked up over the years is 57 inches from the floor tends to be the magic number. This means that the centre of your art piece (not the hook) should be 57 inches from the floor.
This 57 inch standard represents the average human eye-height and is regularly used as a standard in many galleries and museums. It also creates balance in the home because all of your art will share a visual midline.
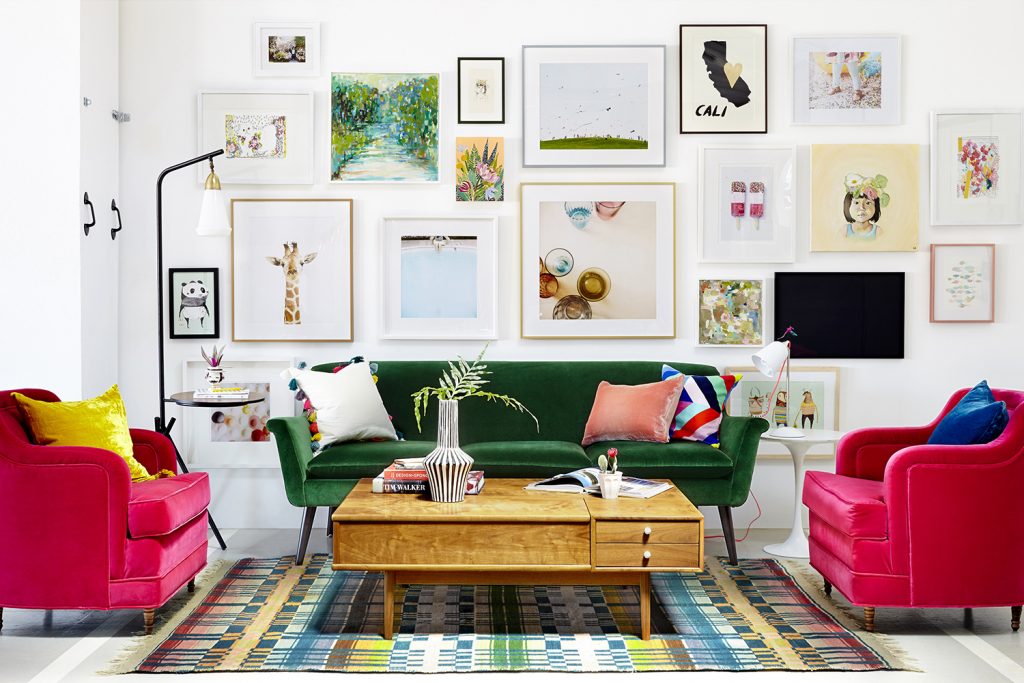
There are a few exceptions to this rule: If you have really low ceilings, divide the vertical length of your wall into quarters and hang your art in the third quadrant up from the floor. And if you’re hanging art above a sofa, allow for 8-10 inches above the sofa back, even if this breaks the 57 inch rule.
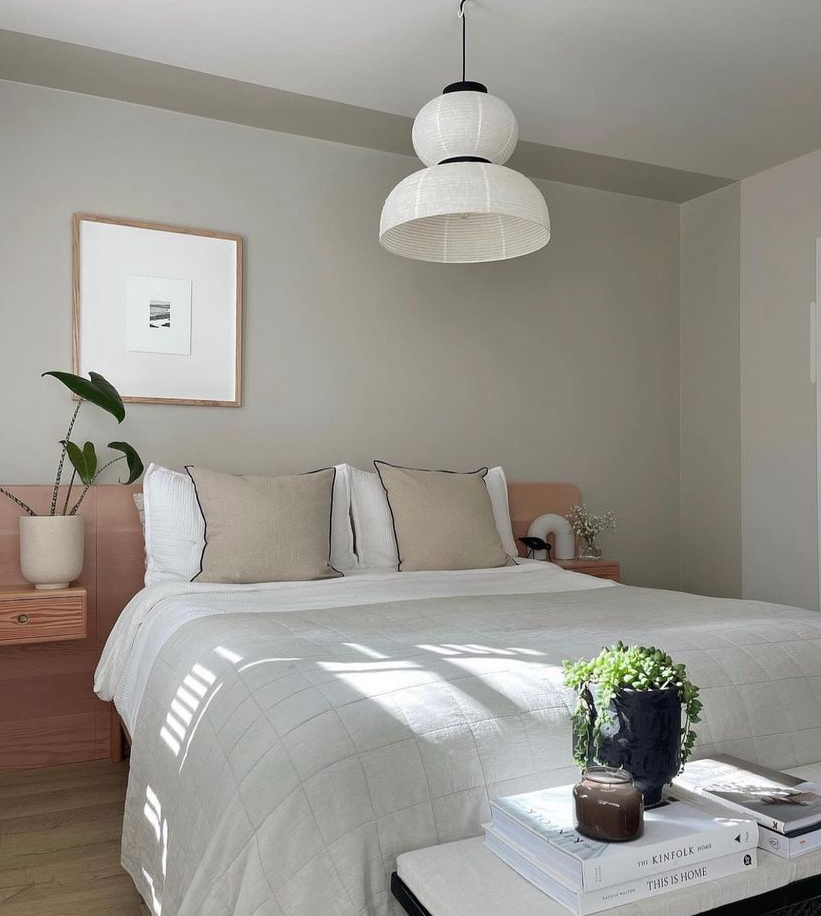
A little interior designer trick is to hang asymmetrically, especially over the bed. It gives a more curated look.
Tip #2: Balance
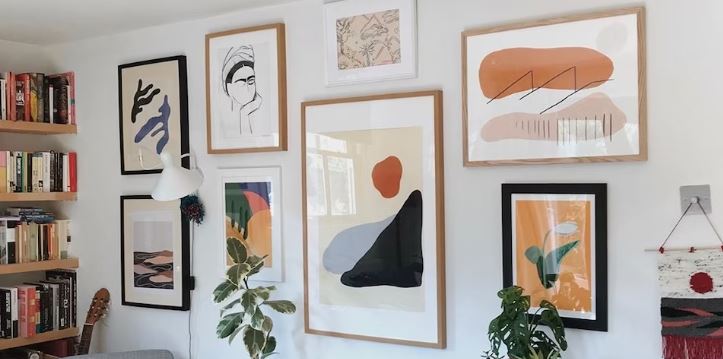
If you’re working with a collection of art, it’s important to treat that collection or gallery as one piece to achieve a balanced look. First, make sure your collection is neither too large nor too small in relation to the furniture in the room, i.e. sofa, sideboard etc.
The artwork should be two-thirds the size of the sofa or sideboard. If you are hanging multiple pieces in a group, make sure the heavier pieces are at the bottom left and the lighter pieces are at the upper right with mid-sized pieces placed in between.
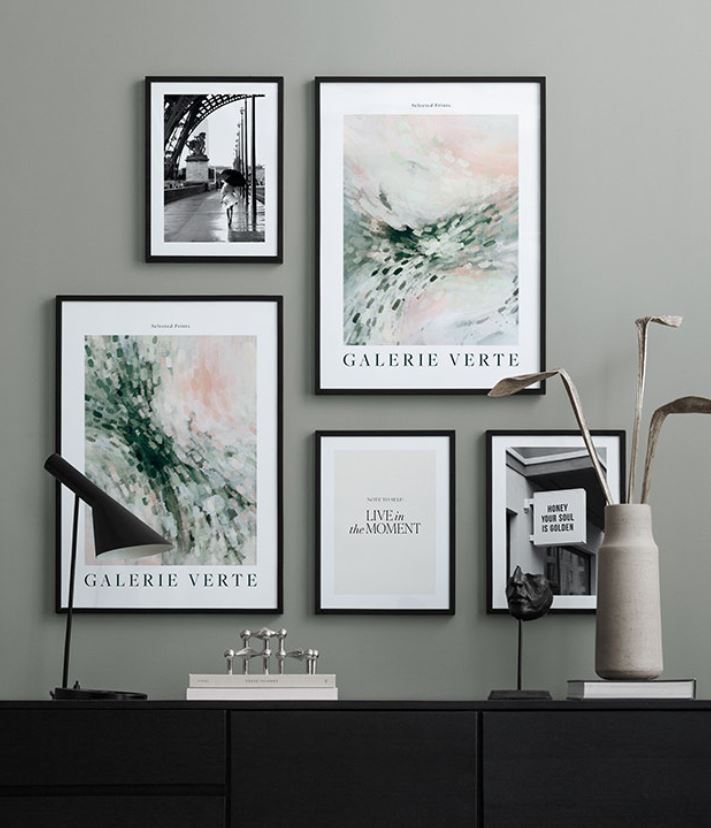
Or, if you have one large piece and a few smaller pieces, hang the large piece toward the middle as a focal point and go from there. Leave 2-5 inches between each frame for proper spacing. Top tip: Use low adhesive tape to keep spacing consistent between frames.
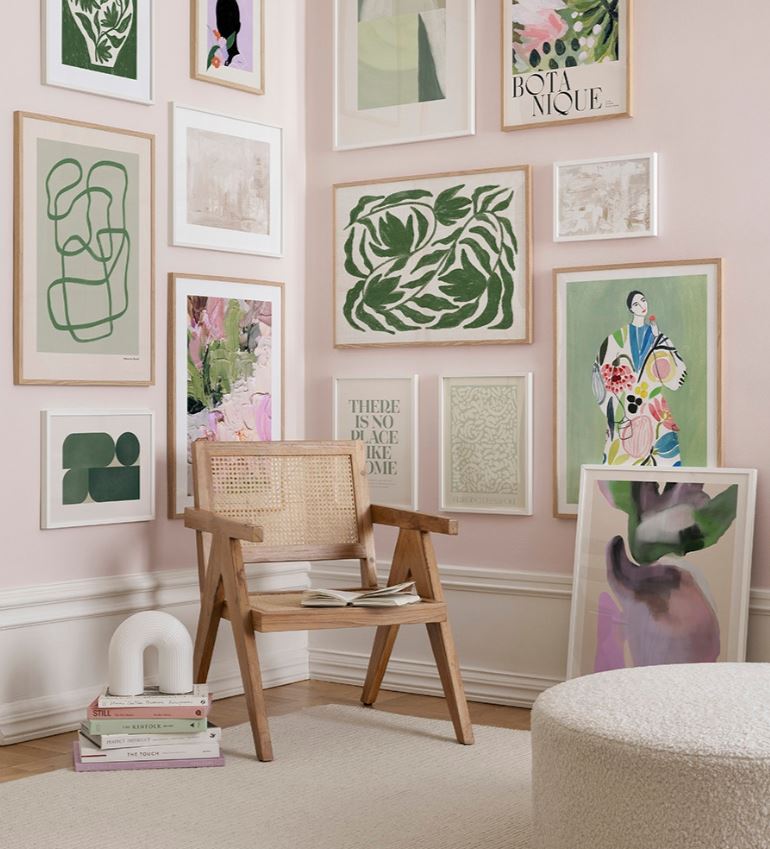
Tip #3: Don’t be afraid to mix and match
Mix and match multiple types of wall hangings, from paintings to prints to photos to text pieces to wall sculptures! The list is endless. Use the same advice from tip #2 with regards to placements but to help use craft paper and low adhesive tape to plan out the arrangement on the wall before putting the nails in.
There are some great websites and shops out there that will help you create great gallery walls with multiple items. I am Fy has a good customisable feature to select the artwork you like and it helps you to position it…all you need to do it hang it!
Another little interior designer trick is to oversize your framing. Float mount with a thick boarder or box frame for a more unique thought out look
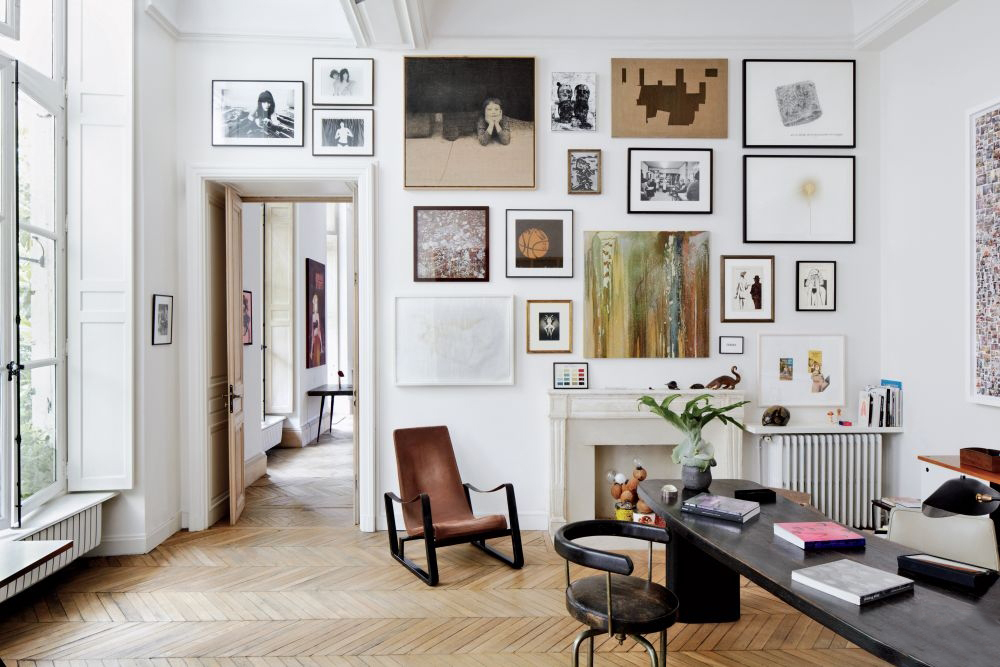
Tip #4: Find the Shape of the Wall
A common mistake we see is when art is just way too small for the space. Big art can be an intimidating purchase (and an investment), but generally the art you hang should be in the same shape and orientation as the wall it’s trying to fill. Gallery walls can also look great when they fill a wall to the max.
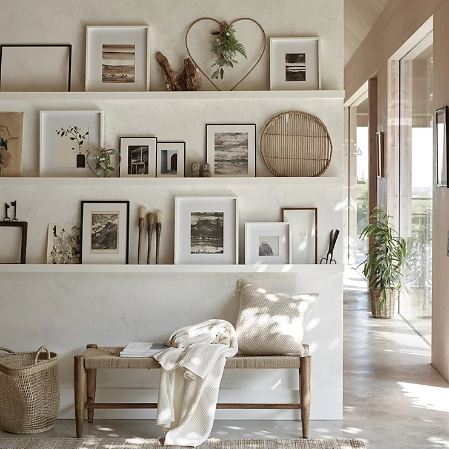
Tip #5: not on the Walls
If making a lot of holes in your wall is a bit daunting, artwork and gallery walls also look great on floating shelves. Try layering up artwork and frames of different shapes and sizes. Just remember the old classic triangle approach – either your largest piece in the centre working down in size each size, or off centre the largest piece and work your way out.
If you have a very large art piece, consider propping it against the wall instead of hanging it for a more relaxed and contemporary look.


Leave a Reply